

I-install ang Windows IOT sa Raspberry Pi gumagamit ng Windows 8.1 / 7 (Ang / applydrive option ay hindi kinikilala sa ganitong konteksto.)
Kung ikaw ay set up ng Windows IOT sa Raspberry Pi, ikaw ay maaari lamang ma-i-install gamit ang mga tagubilin sa Microsoft gumagamit ng Windows 10 OS.
Kung ikaw ay gumagamit ng Windows 7, 8 o 8.1 pagkatapos ikaw ay makakuha ng “Ang / applydrive option ay hindi kinikilala sa ganitong konteksto.” pagkakamali. This is because the dism.exe version on Windows 7, 8 at 8.1 ay naiiba sa mga dism.exe sa Windows 10.
May ay isang madaling paraan upang i-install ang Windows IOT sa Windows 7, 8 o 8.1. Just follow the following instructions.
- Download the Raspberry Pi2 Windows IoT latest build from Microsoft Connect

- Extract ang zip file sa c:/yate
- I-download ang imgmount and place the exe file to c:/yate
- Open a administrator command prompt and go to c:/iot and type imgmount Flash.ffu. This will convert the ffu to a VHD image and mount it in Disk Management
- Go to disk management and detach the VHD
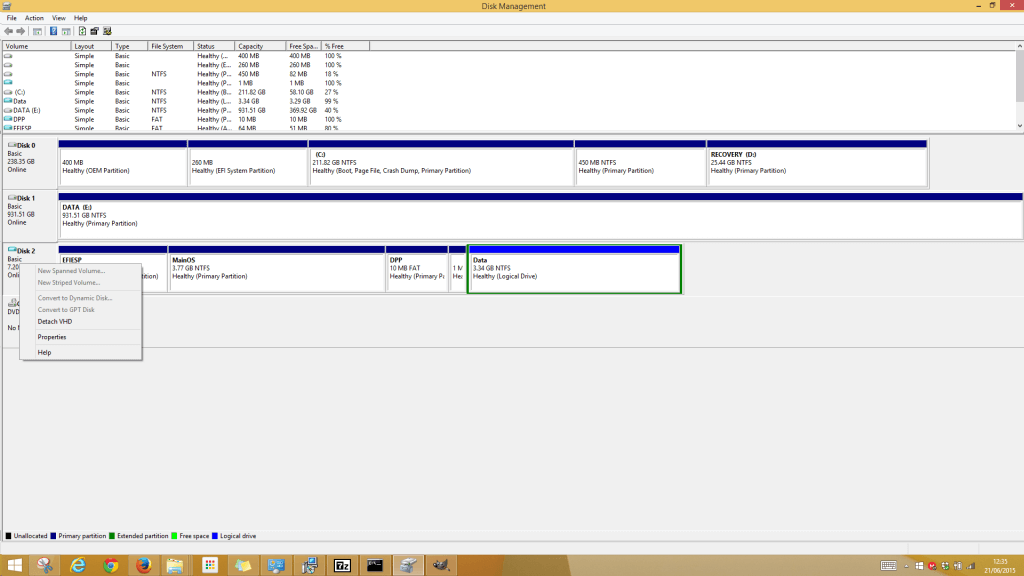
- Next is to restore the VHD file to the SD Card using winimage
- I-download ang winimage and install. Open the winimage administrator
- Click Disk from the menu and choose Restore Virtual Hard Disk image on physical drive
- Select your SD Card from the list and navigate to the VHD file which should be the following path “C:\Users\{user}\AppData\Local\Temp” .
Restoring the image onto the SD Card can take a while. After it is complete insert the SD Card into the Raspberry Pi 2 and all should be working.
