

👉How to resize an a document to layer size 🎨 in Affinity Designer? 🔥🚀🚀
Xyuas kom tseeb tias tus yuam sij tshiab Sib Koom yog xaiv los ntawm txhaj rau nws. Nyob rau hauv txoj cai pane ob npaug nias lub Default nkag thiab nkag mus rau cov nram qab no nyob rau hauv tus nqi cov ntaub ntawv teb 1.8.5.703 is used from this post. Might be different in previous versions and may change in future versions. Please check your version 🙂
After cropping an a layer the background of the document shows. You would like to resize the document to the same size as the cropped layer, so that the layer takes up the document, and no blank document is showing!
- Ensure the largest layer is selected.
- From the Transform tab, note the dimensions.
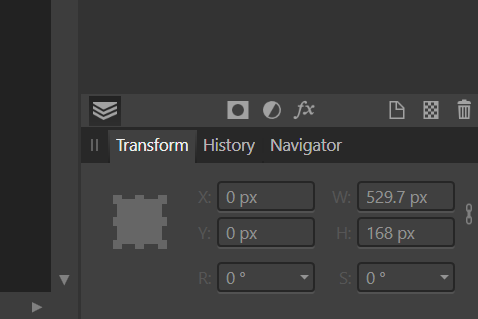
-
Here is a rectangle, with the blank document showing on the right. The document needs to be resized so that the rectangle takes up the whole document space.

-
At the moment the document size is as follows…
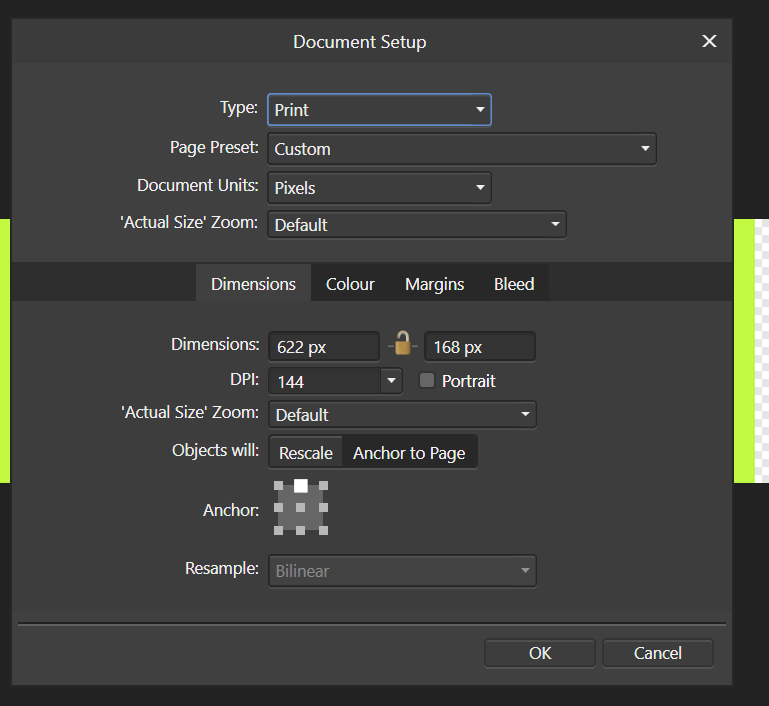
-
For this example the document size is changed as follows…
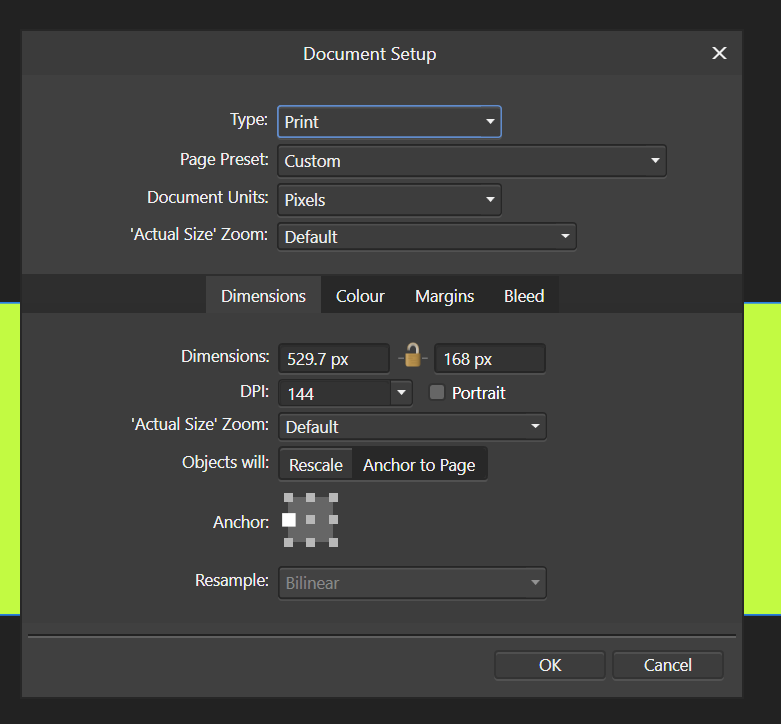
Change the width of the document to the same as the rectangle.
Ensure to Anchor the layers to the left, so that the resize takes place on the right
-
The result is as follows…
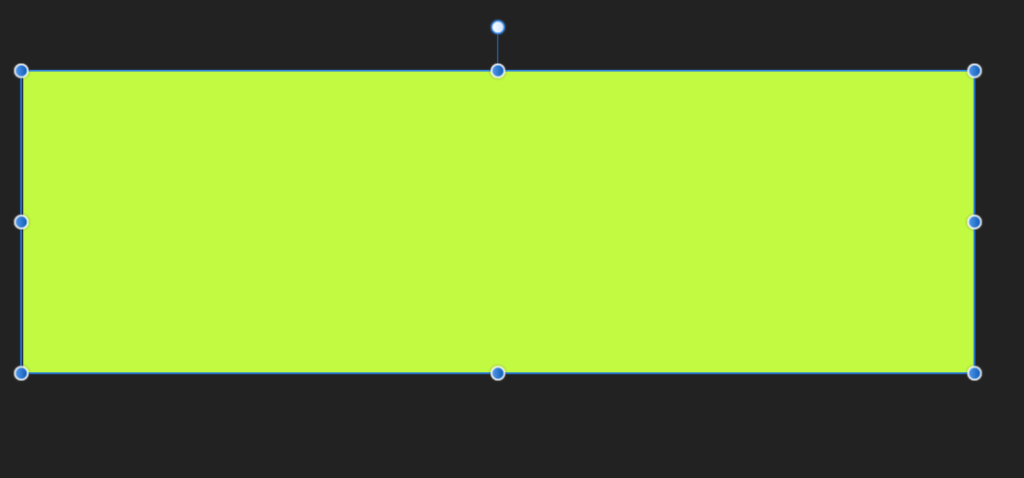
The above is a simple example, and should be used as a guide to resize the document based on your own project.
